
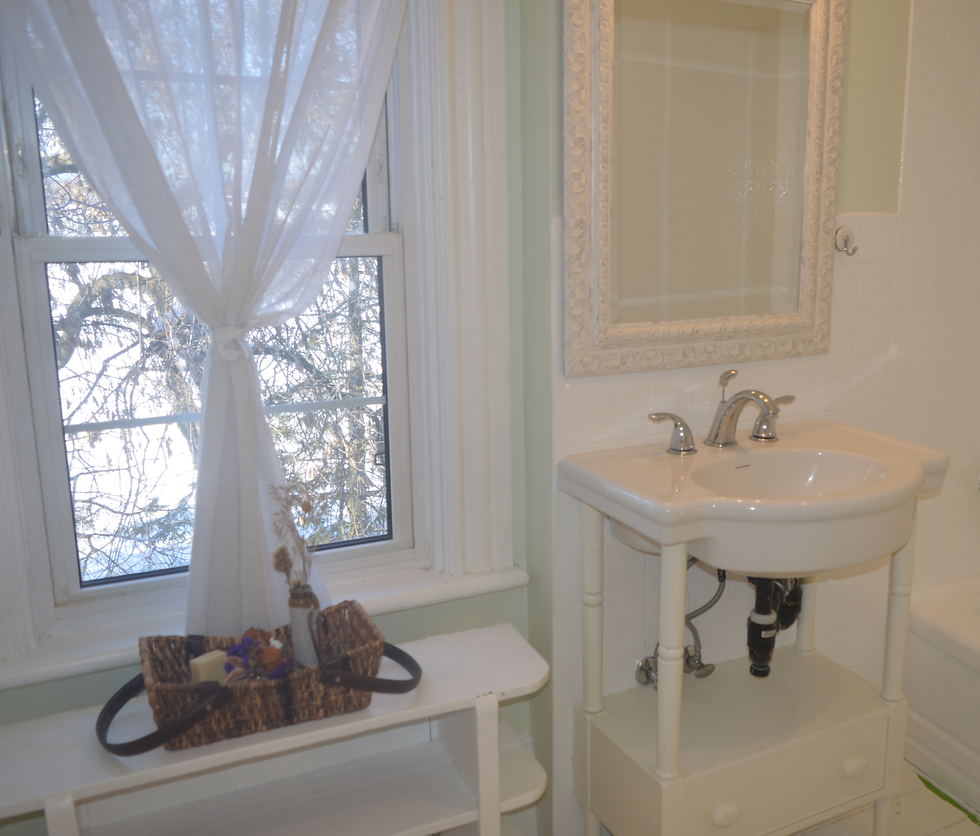
On the advice of my (amazing) stager/designer Paula and with the help of my (awesome) sister Mary, I have just painted my bathroom tiles and tub. GlenMary is now available for short term and longer term stays and I wanted to ensure that my guests have a clean, bright and refreshed bathroom.
Like the house itself, the bathroom is solid and of good quality; however, it is a little dated, with a blue tub and marbled blue tiles. Being on a shoestring budget I was intrigued when Paula suggested painting the tiles. So, Mary and I went to work researching, which included watching youtube videos and speaking with various paint experts. Here are some tips, based on our experience.
Use Klenk's Epoxy: We kind of lucked-out in selecting the best product for tile painting. We weren't looking for a specific brand but went to Preston Hardware (in Ottawa) and this was what they had. Afterwards, two separate and objective experts confirmed that Klenk's is considered the industry 'gold standard'.
Use paint thinner to prep: All the videos we watched said that prepping the area was 90% of the work. It's true. Hours and hours were spent removing caulking, scrubbing and scrapping. As a final step we got paint remover and scrubbed the areas where caulking had been removed and it was like magic. We did end up with a couple of 'fish eyes' but I'm sure it would have been much worse if we hadn't used the thinner.
Get a respirator: We received conflicting advice as to whether or not we would need a charcoal filter respirator. They're not cheap ($50) so we decided to buy one and only use it if we really needed it and we'd share by taking turns. We did not use it for the first two coats, but Mary felt it in her lungs at the end of the first day so she used it the following day. I personally didn't find the smell/fumes that bad and was fine with just having the window open. Mary has had a lung infection in the past, so this is probably a factor. Suggest buying one, and if you don't use it, return it.
Hot but not too hot: It's a little tricky to manage the temperature. The tiles and tub need to be warm (>24 C), but we found that the paint was becoming 'tacky' really quickly- almost instantly- on the first coat. We changed the process for the subsequent coats, painting with the window open (it's February!) and then turning on the heat (we had 2 heat lamps) once complete and left the door closed.
Do NOT use a fan: In between coats we turned on 2 heaters and a fan to help with the drying process (there's a bit of a sense of urgency, as the paint is only good for 6 hours). While we had cleaned the entire room before starting to paint, we found tiny flecks of dust particles in the finished product and believe this was because of the fan blowing things around during the curing process.
Freeze paint and brushes between coats: Once the epoxy paint is mixed it starts thickening and you have about 6 hours to use it before it gets too thick to spread. We discovered that placing the paint and the brushes in the freezer helped slow the thickening.
Do NOT apply the paint thickly: This can be tricky, especially on the second coat, because the epoxy paint will have been thickening in the can while you're waiting for your first coast to cure, but be VERY carful. We had quite a few runs in the tub which caused a lot of extra work to sand and reclean before the final coats. Try your best to avoid runs.
This project was quite a bit of work- with research, shopping, prepping and actual painting- easily 5-6 days. The cost was $270 (paint) plus brushes, thinner, etc. But it looks great, is doable as a DYI and much cheaper than retiling.
Comments